Setting up a Braeburn thermostat is fundamental to achieving optimal comfort and energy efficiency in your home.
Proper thermostat configuration allows you to tailor your heating and cooling systems to your needs, optimizing comfort and cost savings.
Whether you’re a homeowner or an HVAC professional, this knowledge is invaluable in ensuring efficient temperature control.
This guide will walk you through the steps to configure your Braeburn thermostat effectively.
Whether you’re a homeowner looking to improve your daily comfort or a professional HVAC technician seeking precise control, our instructions will cover all the essential aspects.
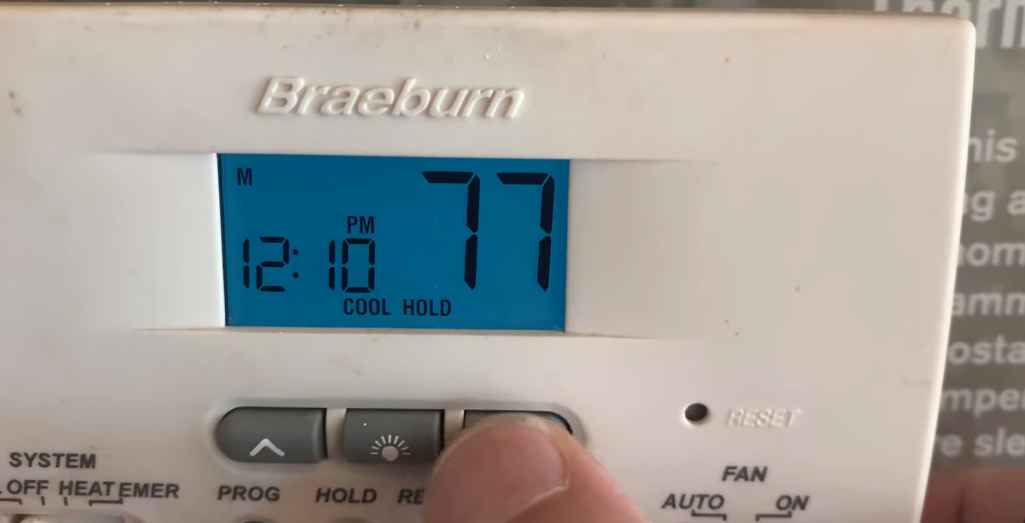
How to Set Braeburn Thermostat – Step by Step
Let’s see How to Set up Braeburn Thermostat in detail.
Step 1: Select the Operating Mode
To set up your Braeburn thermostat, the initial step involves choosing the operating mode that suits your needs.
Press the “Mode” button on the thermostat’s control panel.
Once you’ve activated the mode selection, you can navigate the options using the up and down arrow buttons.
Make sure to stop at your desired mode, which could be “Heat,” “Cool,” or “Auto,” depending on your heating or cooling requirements.
Step 2: Adjust the Temperature
With the operating mode selected, it’s time to set the thermostat’s temperature to your preferred level.
Utilize the up and down arrow buttons to make temperature adjustments.
Keep pressing the arrows until you reach the temperature that suits your comfort.
This step ensures that your Braeburn thermostat is set to maintain your desired temperature.
Step 3: Override Programmed Schedule
If you need to override the programmed schedule on your thermostat temporarily, these steps will guide you through the process.
Press the “Hold” button on the thermostat to initiate the override.
Doing so will maintain the current temperature setting until you decide to adjust it manually.
This feature is handy when you want to deviate from your usual schedule.
Step 4: Configure Fan Mode
Your Braeburn thermostat allows you to manage the fan mode, which impacts how the thermostat operates.
To set the fan mode: Press the “Fan” button on the thermostat’s control panel.
You can select between “On” and “Auto.”
Choosing “On” keeps the fan running continuously, constantly circulating air.
Opting for “Auto” makes the fan run only when heating or cooling is actively engaged.
Adjust the fan mode according to your preferences for air circulation.
Step 5: Additional Settings
Additional settings and features, such as programming schedules or vacation mode, might be available depending on your specific Braeburn thermostat model.
For detailed instructions on these features, consult your thermostat’s user manual, which will provide comprehensive guidance on configuring advanced settings to enhance your thermostat’s functionality.
How to set Braeburn thermostat to cool?
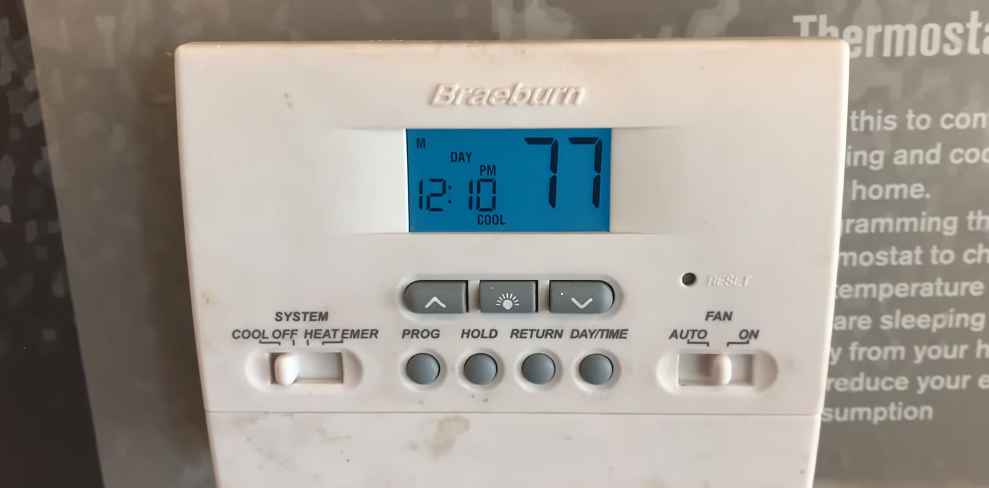
Step 1: Select the Operating Mode
To set your Braeburn thermostat to the cooling mode, follow these steps:
- 1.1. Press the “Mode” button on the thermostat’s control panel.
- 1.2. Use the up and down arrow buttons to navigate through the available modes.
- 1.3. Select the “Cool” mode by stopping at it when you reach the desired mode.
Step 2: Adjust the Cooling Temperature
Now that you’ve selected the cooling mode, setting the desired cooling temperature is essential. Here’s how:
- 2.1. The up and down arrow buttons are used to adjust the cooling temperature setting.
- 2.2. Continue pressing the arrows until you reach the temperature at which you want your cooling system to operate.
Step 3: Override Programmed Schedule (if needed)
If you need to override the programmed schedule temporarily while in cooling mode, you can follow these steps:
- 3.1. Press the “Hold” button on the thermostat.
- 3.2. This will maintain the current cooling temperature setting until you manually change it or return to the programmed schedule.
Step 4: Configure Fan Mode (optional)
You can also configure the fan mode for cooling. Here’s how:
- 4.1. Press the “Fan” button on the thermostat’s control panel.
- 4.2. Choose between “On” and “Auto” using the up and down arrow buttons.
- 4.3. “On” keeps the fan running continuously, while “Auto” only runs when cooling is actively engaged.
How to install Braeburn thermostat?
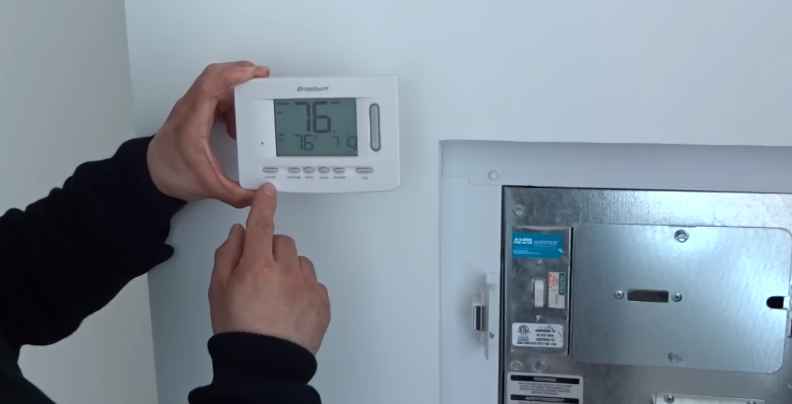
Step 1: Turn Off Power
Before installing your Braeburn thermostat, ensure safety by turning off the power to your heating and cooling system. Locate your circuit breaker or fuse box and switch off the power to the HVAC system.
Step 2: Remove Old Thermostat
If you have an existing thermostat, you’ll need to remove it:
- Remove the Thermostat Cover: Gently pry off the thermostat cover to expose the inner components.
- Note Wire Connections: Take note of the wires connected to the old thermostat and their corresponding labels.
- Detach Wires: Unscrew and detach the wires from the old thermostat.
- Remove Mounting Plate: Carefully remove the old thermostat’s mounting plate from the wall.
How to set a Braeburn thermostat 2200nc?
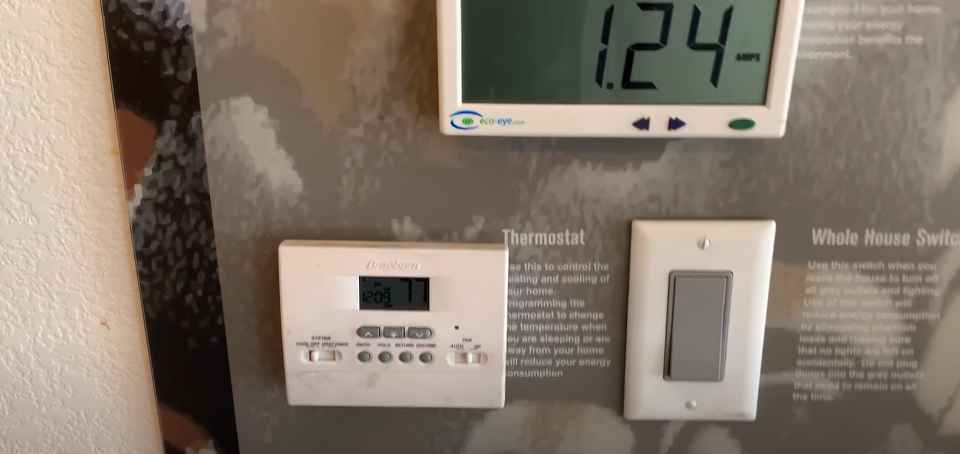
Step 1: Access Menu Options
To set up a Braeburn thermostat model 2200NC, follow these steps:
- 1.1. Press the “Menu” button on your thermostat.
- 1.2. Use the arrow buttons to navigate through the menu options.
- 1.3. Locate the settings related to temperature and mode adjustments.
Step 2: Adjust Temperature and Mode
Now that you’ve accessed the menu options proceed to adjust the temperature and mode:
- 2.1. Use the arrow buttons to select the temperature adjustment option.
- 2.2. Modify the temperature setting to your desired level.
- 2.3. Select the operating mode (Heat, Cool, or Auto).
Step 3: Confirm and Save Settings
After making your adjustments, ensure that you confirm and save your settings:
- 3.1. Navigate to the confirmation or save option in the menu.
- 3.2. Press the appropriate button to confirm and save your temperature and mode settings.
Step 4: Optional Fan and Scheduling Settings
Depending on your preferences and thermostat model, you may have additional fan settings and scheduling options.
Refer to your thermostat’s user manual for specific instructions on configuring these features.
How to set the temperature on Braeburn thermostat?
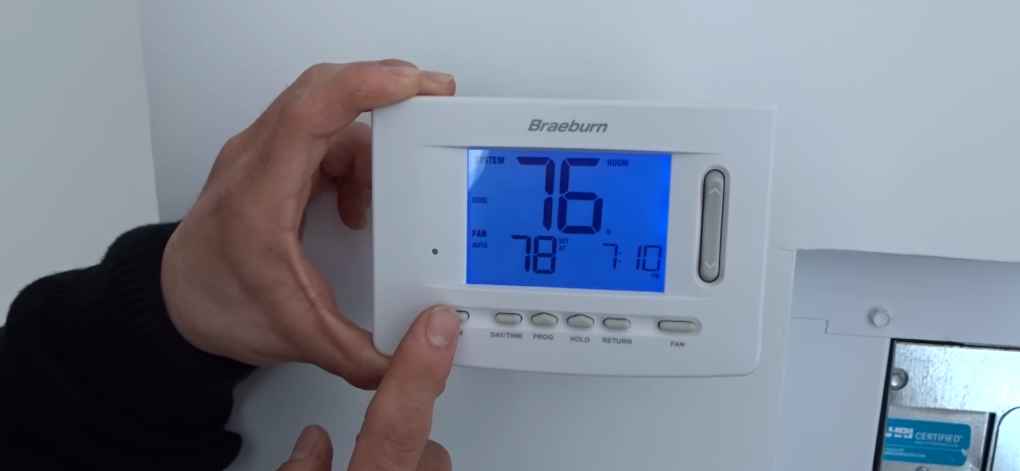
Access Temperature Adjustment
- Locate the thermostat’s temperature adjustment controls. These are usually labeled as “Up” and “Down” or have temperature symbols.
- Ensure that the thermostat’s display is active.
Adjust the Temperature
- Use the “Up” button to increase the temperature setting.
- Use the “Down” button to decrease the temperature setting.
- Continue pressing the appropriate button until you reach the desired temperature.
Confirm and Save
- After making your temperature adjustment, confirming and saving your settings is essential.
- Wait for a few seconds after setting the temperature. Many Braeburn thermostats will automatically save your changes. If not, check for a “Save” or “Confirm” button on the thermostat and press it to save your temperature setting.
How to set heat on Braeburn thermostat?
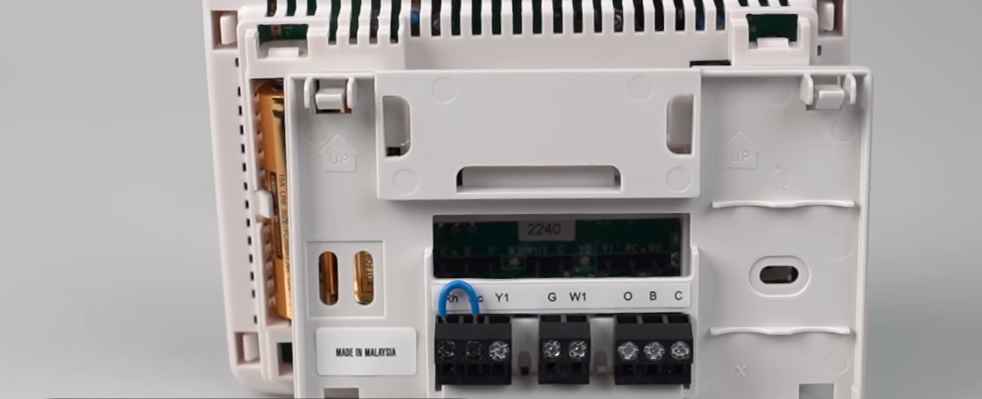
Access Heat Mode
- Locate the thermostat’s mode selection controls. These are typically labeled with modes like “Heat,” “Cool,” and “Auto.”
- Ensure that the thermostat’s display is active.
Select Heat Mode
- Use the mode selection control to choose the “Heat” mode. This will enable the thermostat to control your heating system.
Set Desired Temperature
- Use the temperature adjustment controls, usually labeled as “Up” and “Down” or with temperature symbols, to set the desired heating temperature.
- Press the “Up” button to increase the temperature or the “Down” button to decrease it.
- Continue adjusting until you reach your preferred heating temperature.
Confirm and Save Settings
- After setting the desired heating temperature, wait for a moment. Many Braeburn thermostats automatically save your changes.
- If not, look for a “Save” or “Confirm” button on the thermostat and press it to save your heating settings.
How to set time on Braeburn thermostat?
Access Time Setting
- Locate the thermostat’s time-setting controls. These controls are often found within the thermostat’s menu or settings.
- Ensure that the thermostat’s display is active.
Navigate to Time Settings
- Use the menu or settings navigation controls to access the time settings.
- Typically, you’ll find options for adjusting the time and setting the current time.
Set the Current Time
- Use the controls designated for adjusting the time to set the current time on the thermostat.
- Some thermostats may have separate buttons for hours and minutes, while others use a single control to scroll through both.
- Adjust the time until it reflects the correct hour and minute.
Confirm and Save Time
- After setting the correct time, ensure that you confirm and save your changes.
- Wait for a few moments; many Braeburn thermostats will automatically save your time settings.
- If needed, check for a “Save” or “Confirm” option within the time settings menu and select it to save your changes.
Frequently Asked Questions
How do I set the temperature on my Braeburn thermostat?
To adjust the temperature on your Braeburn thermostat, use the “Up” and “Down” buttons until you reach your desired temperature.
Can I program a schedule on my Braeburn thermostat?
Many Braeburn thermostats offer programming options to set schedules for different times and days.
What is the auto setting on a Braeburn thermostat?
The “Auto” setting on a Braeburn thermostat allows it to automatically switch between heating and cooling modes to maintain the selected temperature.
What should I do if my thermostat displays an error code?
Refer to the user manual for error code explanations and troubleshooting steps specific to your thermostat.
What should I do if my Braeburn thermostat is not responding?
Check the power source, ensure the display is active, and verify wire connections.
If issues persist, consult the user manual or contact customer support.
How do I set my thermostat to hold the temperature?
Press the “Hold” button on your thermostat to temporarily override the programmed schedule and maintain the current temperature setting.
What is the maximum temperature on a Braeburn thermostat?
The maximum temperature on a Braeburn thermostat varies depending on the model but typically falls within the 90-99 degrees Fahrenheit range.
Should I set the thermostat to cool or auto?
Choosing between “Cool” and “Auto” depends on your cooling preferences.
“Auto” switches between heating and cooling as needed, while “Cool” runs the cooling system continuously.
Conclusion
In conclusion, mastering the art of setting a Braeburn thermostat is the key to personalizing indoor climate control.
This straightforward process involves a few essential steps that put the power of comfort and energy efficiency in your hands.
Accessing the thermostat’s settings allows you to seamlessly toggle between heating, cooling, or auto mode, allowing your system to adapt to your specific needs.
Adjusting the temperature with the simple push of a button ensures that your space remains comfortable year-round.
The “Hold” feature adds flexibility to the mix, allowing you to temporarily override programmed schedules to meet your immediate comfort requirements.
While the maximum temperature setting may vary depending on the model, the thermostat’s versatility is consistent across the Braeburn range.
In the ongoing debate between “Cool” and “Auto” mode, the choice is yours, tailored to your cooling preferences.
Ultimately, understanding these steps grants you precise control over your Braeburn thermostat, making every day in your living space comfortable, efficient, and tailored to your liking.

Hi my loved one! I wish to say that this article is awesome, great written and come with approximately all important infos. I would like to look extra posts like this .