If you’re wondering how to clean Carrier air conditioners, you’re not alone.
Maintaining your AC unit is important for optimal performance and longevity.
In this blog post, we’ll cover the steps to clean your Carrier air conditioner, from the basics of cleaning the filter to more advanced techniques like cleaning the coils.
We’ll also discuss the importance of regular maintenance and how to troubleshoot common issues.
Whether you’re a homeowner or a professional HVAC technician, this guide will provide you with the knowledge you need to keep your Carrier air conditioner running smoothly.
So, let’s get started and learn how to clean and maintain your Carrier air conditioner!

How to Clean Carrier Air Conditioner? Step-by-step guide!
You can clean the carrier air conditioner following ways:
Step 1: Turn off the Power: Start by switching off the power to the air conditioner unit. Locate the circuit breaker panel and turn off the breaker that controls the air conditioner.
Step 2: Remove the Filter: Locate the air filter, usually found behind a front panel or grille. Remove the front panel or grille to access the filter. Depending on the model, you may need to unscrew or unclip the panel. Take out the filter carefully.
Step 3: Clean the Air Filter: Use a vacuum cleaner or wash the filter with mild soap and water. If washing, gently scrub the filter to remove dirt and debris. Rinse thoroughly and allow it to dry completely before reinstallation. Refer to the manufacturer’s instructions for specific guidance on cleaning the filter.
Step 4: Clean the Exterior: Wipe down the exterior surfaces of the air conditioner unit using a damp cloth. Remove any accumulated dust or dirt from the unit. Be cautious not to get any water inside the unit.
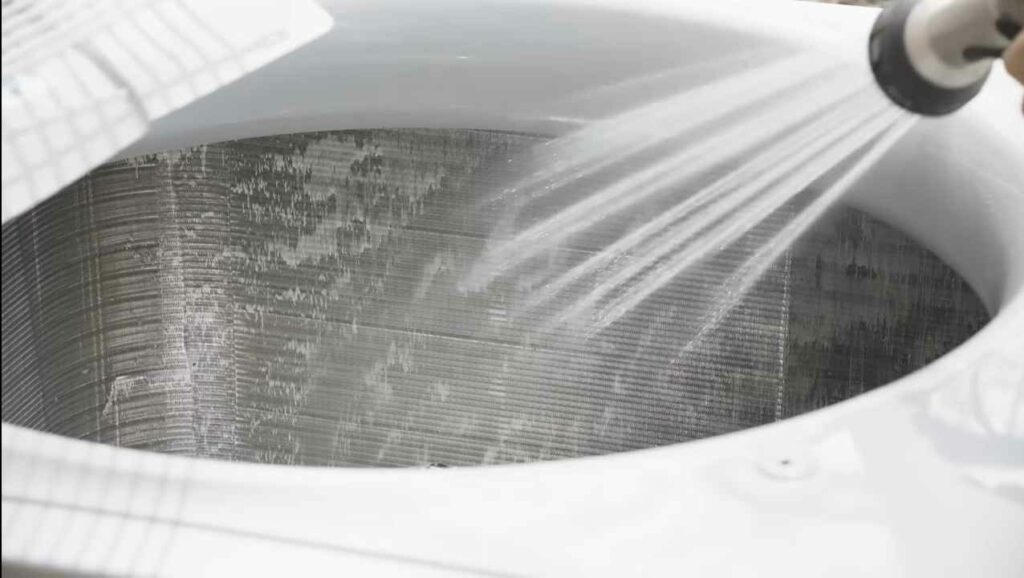
Step 5: Clean the Condenser Coils: Locate the condenser coils, which are typically located behind the air conditioner unit. If the coils are dirty, use a soft brush or vacuum cleaner to remove dust and debris. Be gentle to avoid damaging the coils.
Step 6: Clear the Condensate Drain: The condensate drain removes moisture from the air conditioner. Inspect the drain for any blockages. Use a small brush or pipe cleaner to clear any debris or buildup.
Step 7: Clean the Blower Wheel: The blower wheel is responsible for circulating the air. If it appears dirty, use a soft brush or vacuum cleaner to remove dust and debris. Ensure the blower wheel spins freely.
Step 8: Reinstall the Filter: Once the filter is dry, place it back into the air conditioner unit. Ensure it is properly seated and secure any clips or fasteners that hold it in place. Reattach the front panel or grille.
Step 9: Restore Power: Return to the circuit breaker panel and switch on the breaker for the air conditioner. The unit should power up and begin operating normally.
Regularly cleaning your Carrier air conditioner helps maintain its efficiency and prolong its lifespan.
It is recommended to refer to the specific model’s user manual or contact Carrier customer support for any model-specific instructions or guidelines.
How to Clean Air Conditioner Coils Inside the House?
If your air conditioner coils are dirty, it can cause your unit to work harder and less efficiently.
This can lead to higher energy bills and premature wear and tear on your AC unit.
Thankfully, cleaning your coils is a relatively simple process that you can do yourself with some basic supplies.
Here’s what you’ll need:
- A soft brush (a toothbrush or paintbrush will work)
- Distilled white vinegar
- A spray bottle
- A cloth or rag
Start by turning off your AC unit and removing the cover.
Locate the coils (they should be in the evaporator section) and use the brush to gently remove any dust or debris that has accumulated on them.
Once the coils are clean, mix equal parts vinegar and water in the spray bottle.
Spray down the coils generously with this mixture and let it sit for about 15 minutes.
Then, use the cloth or rag to wipe away any remaining residue before replacing the cover on your AC unit.